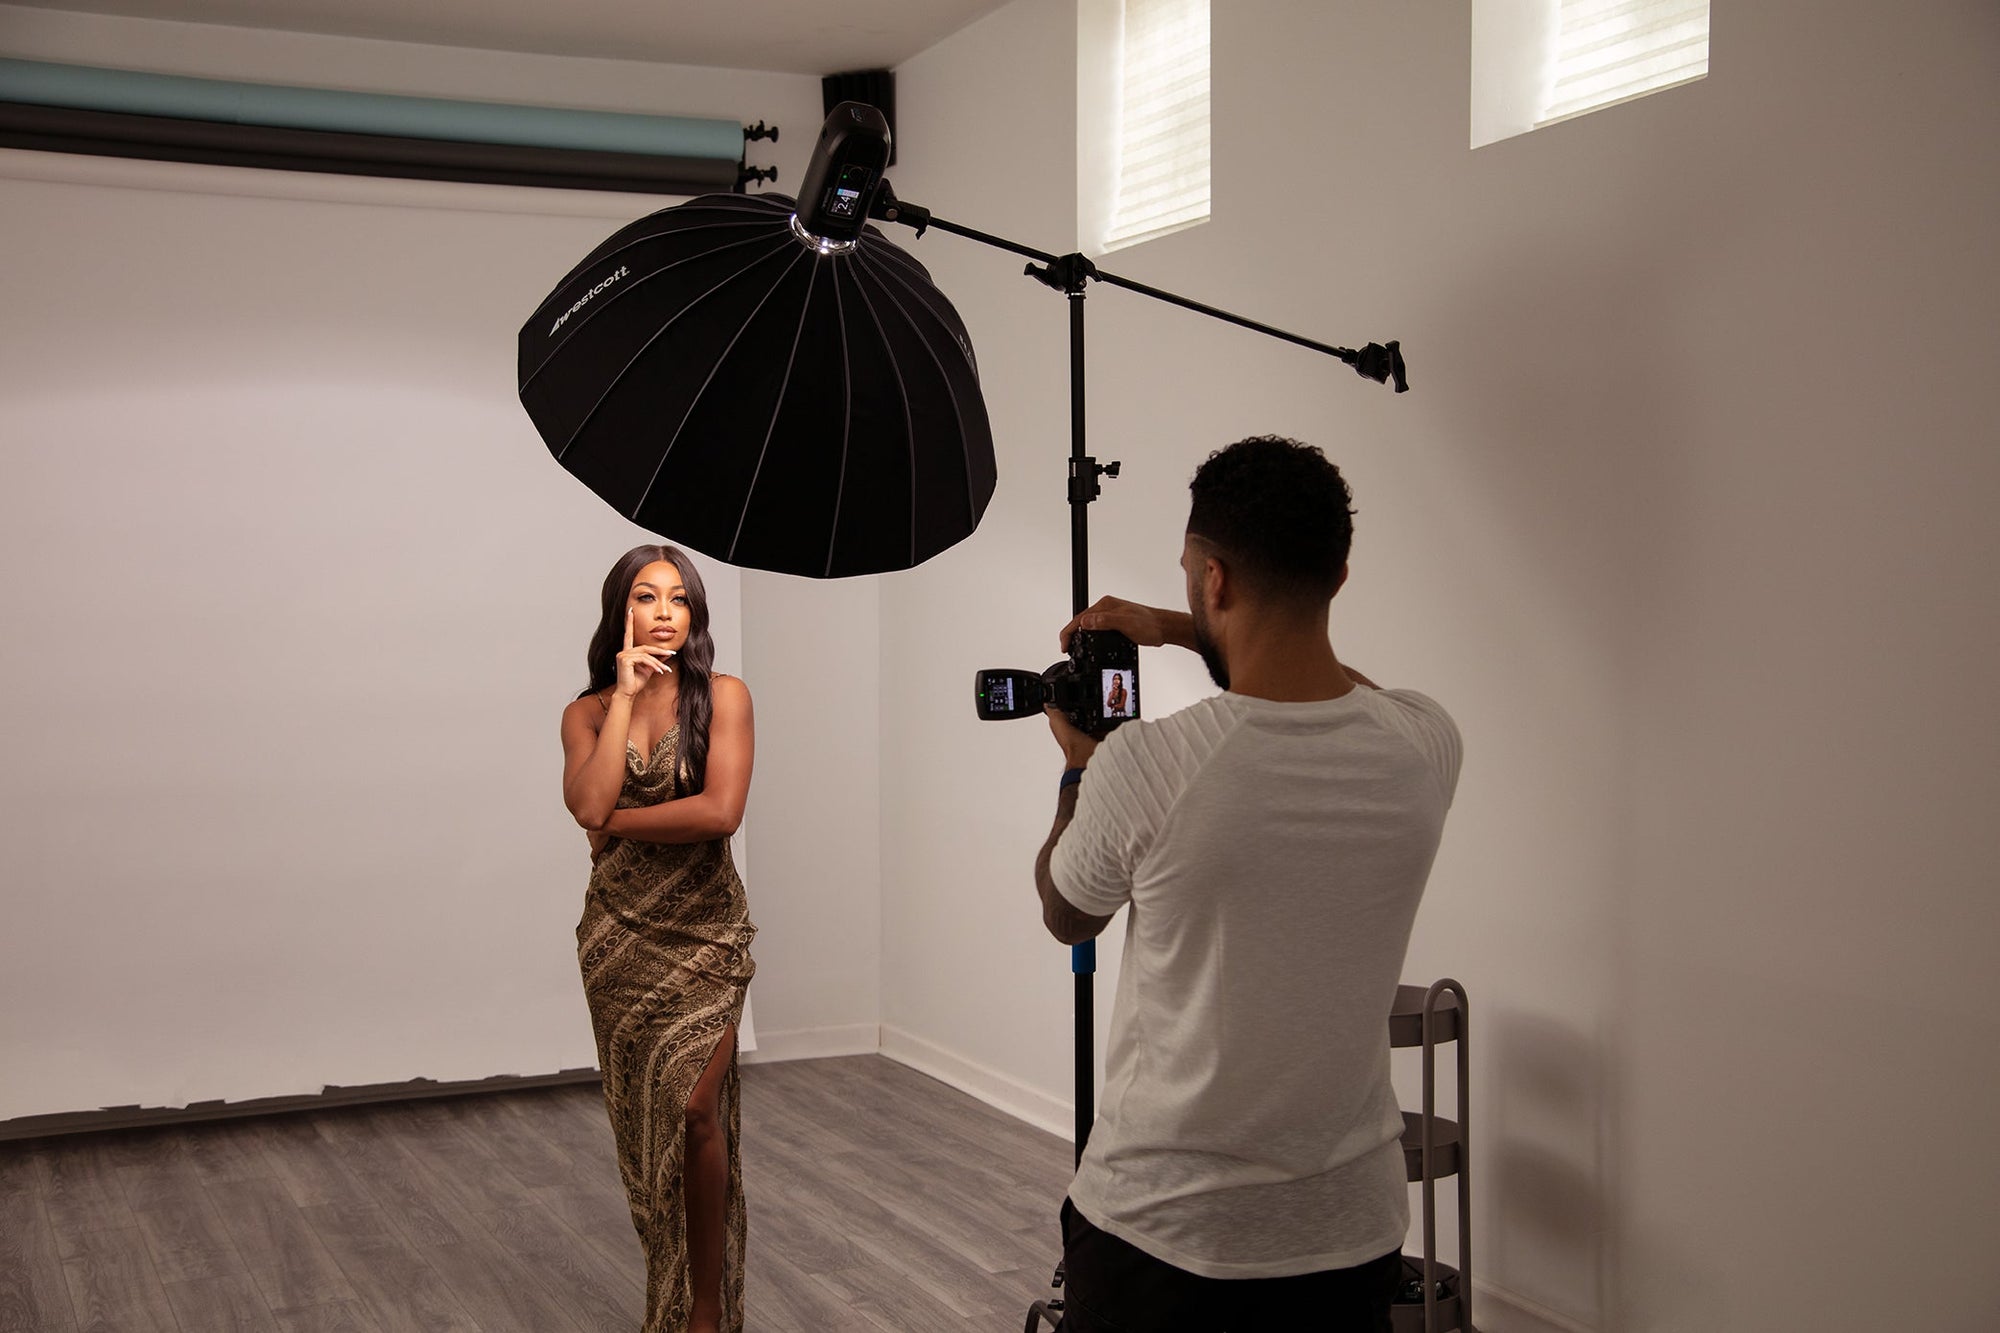


In this video, Top Pro Ashley Boring breaks down the benefits of using softbox grids to help you create more impactful images and deeper shadows.
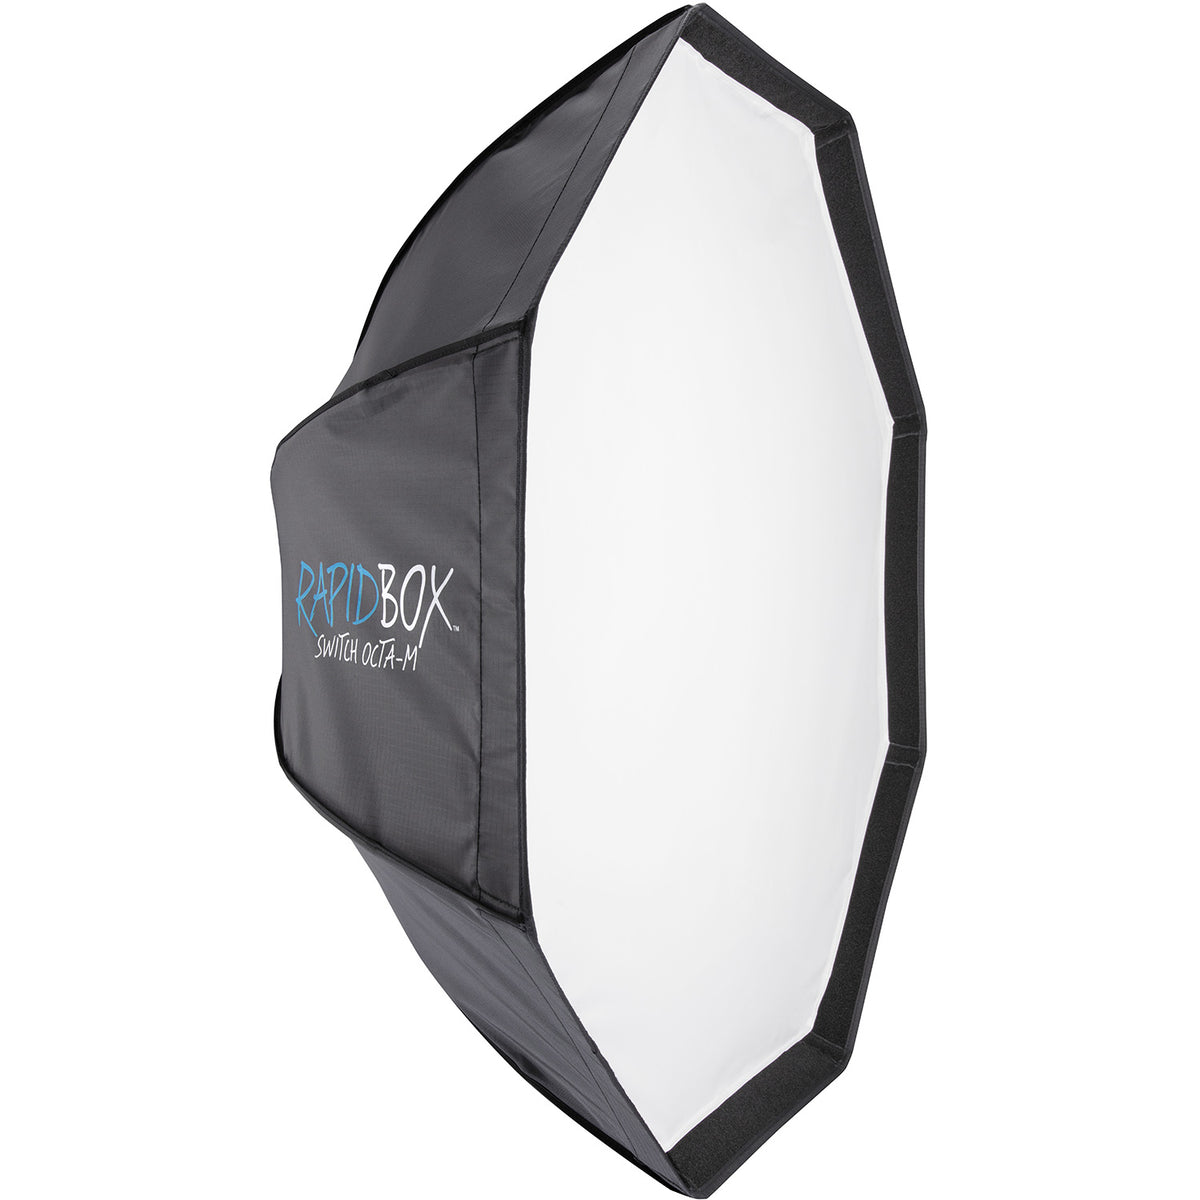
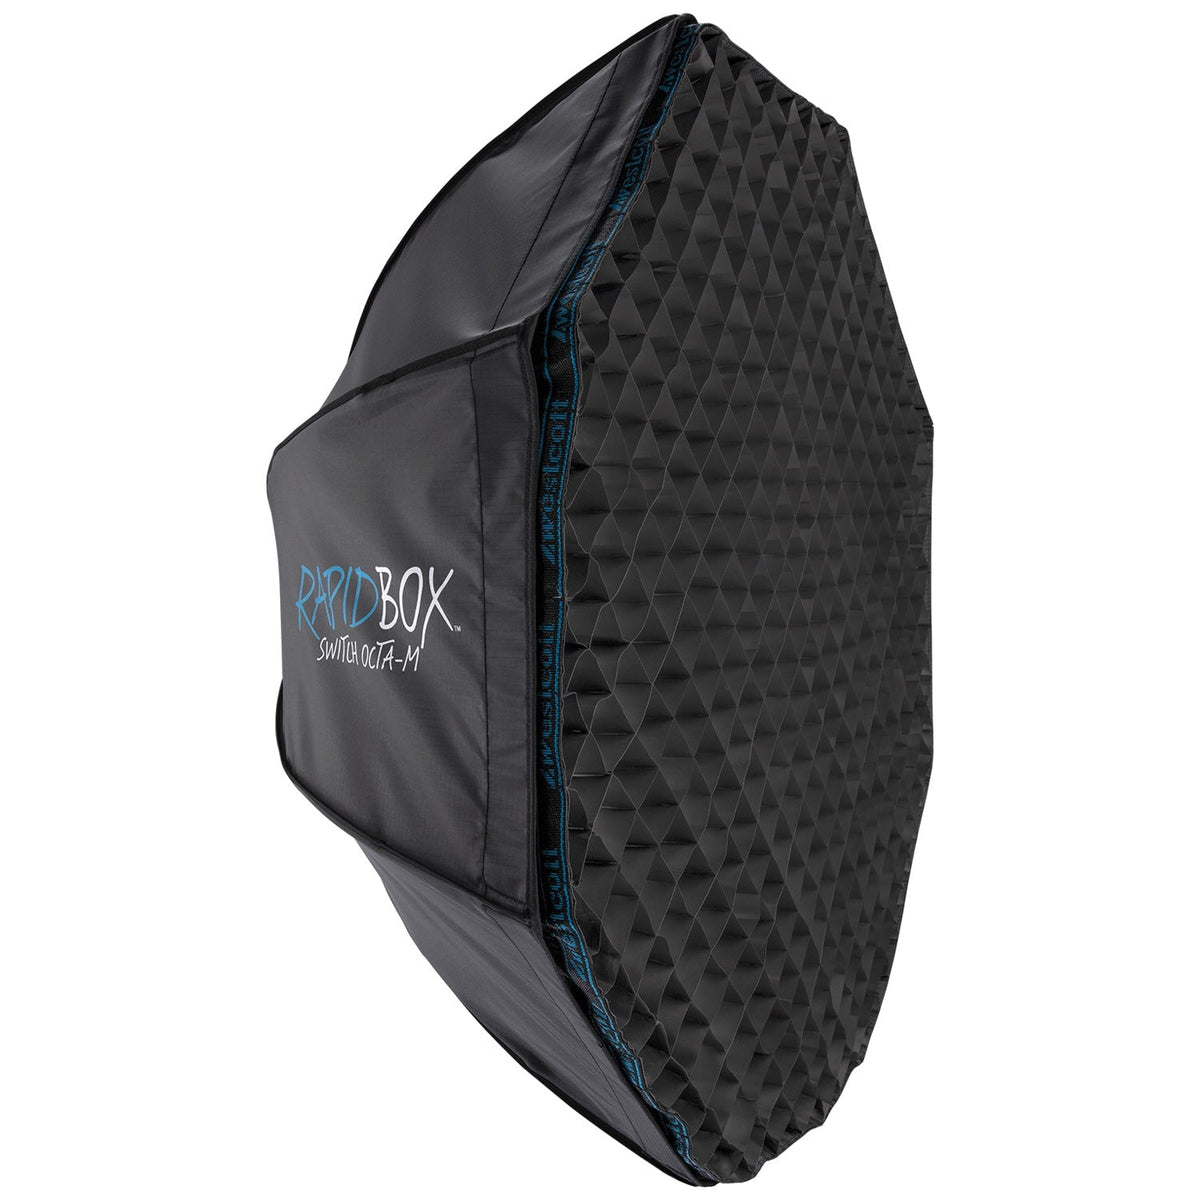
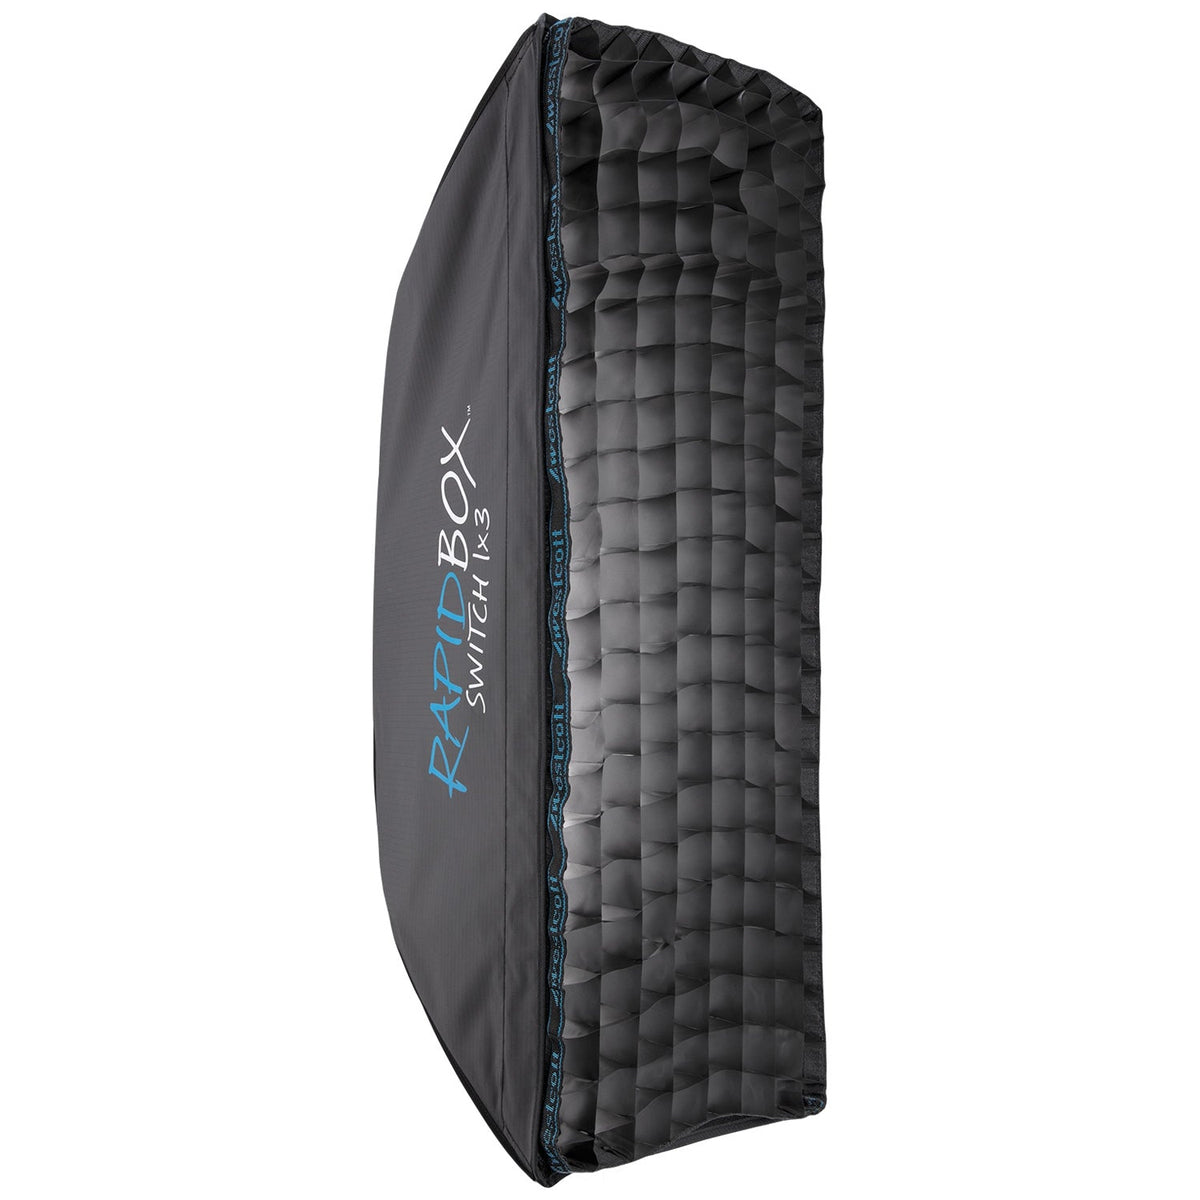
A common way to use grids is to isolate your subject from their background. Using a [plink sku="577" alt="white X-Drop backdrop"], Ashley was able to make the background darker by adding a [plink sku="2835" alt="40° egg crate grid"] to a [plink sku="2522" alt="Rapid Box Switch Octa-M 36-inch”] softbox. The grid brought down the background exposure without having to change the placement of the [plink sku="4700"] she used as her light.
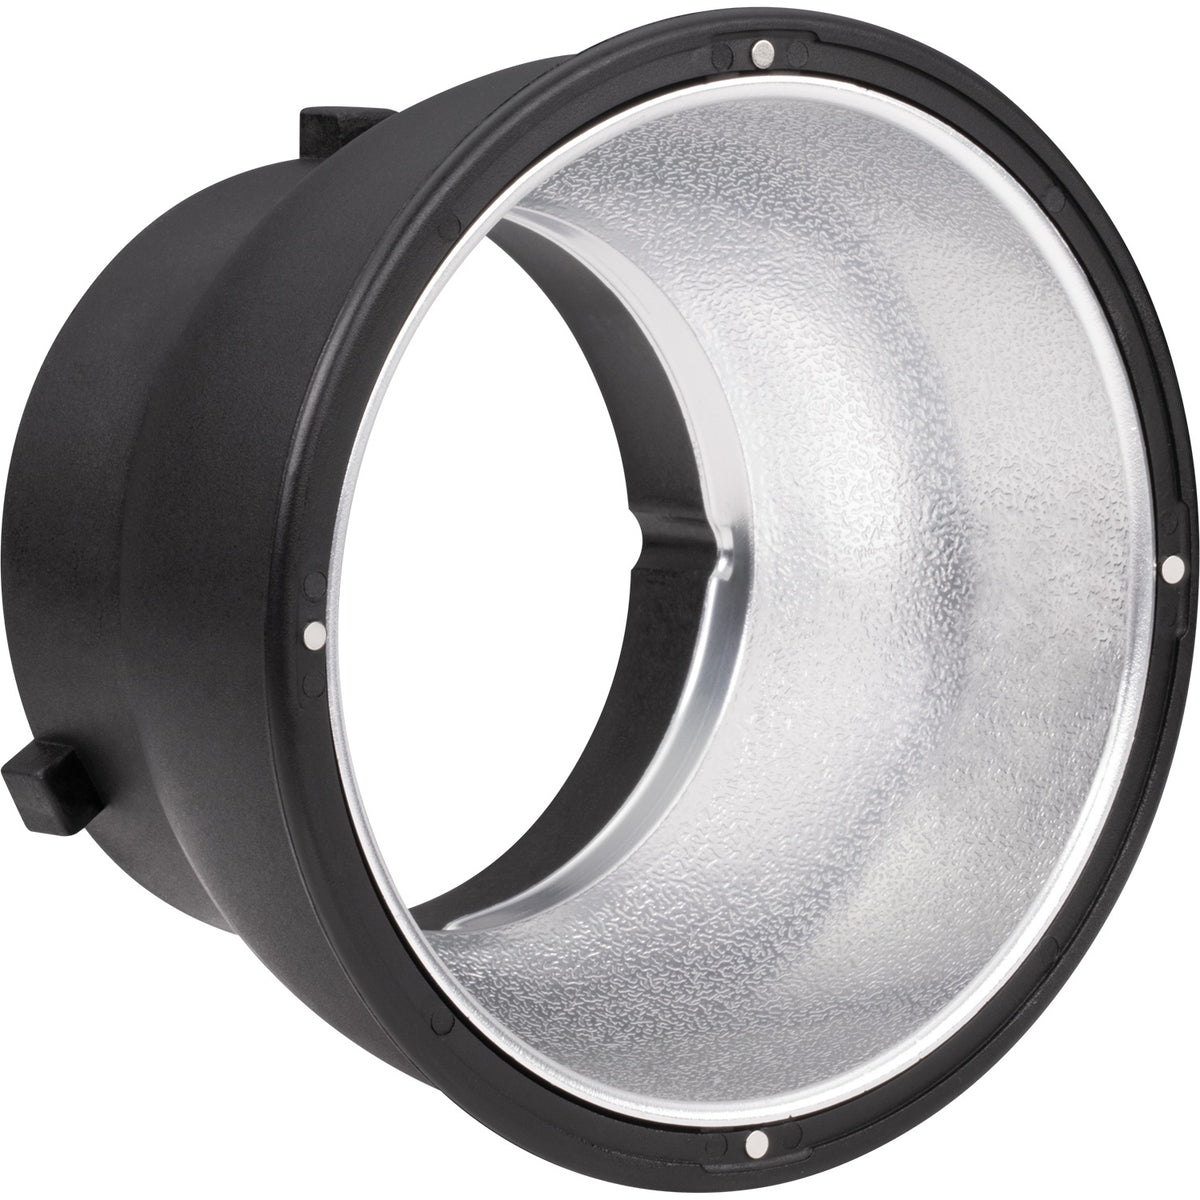
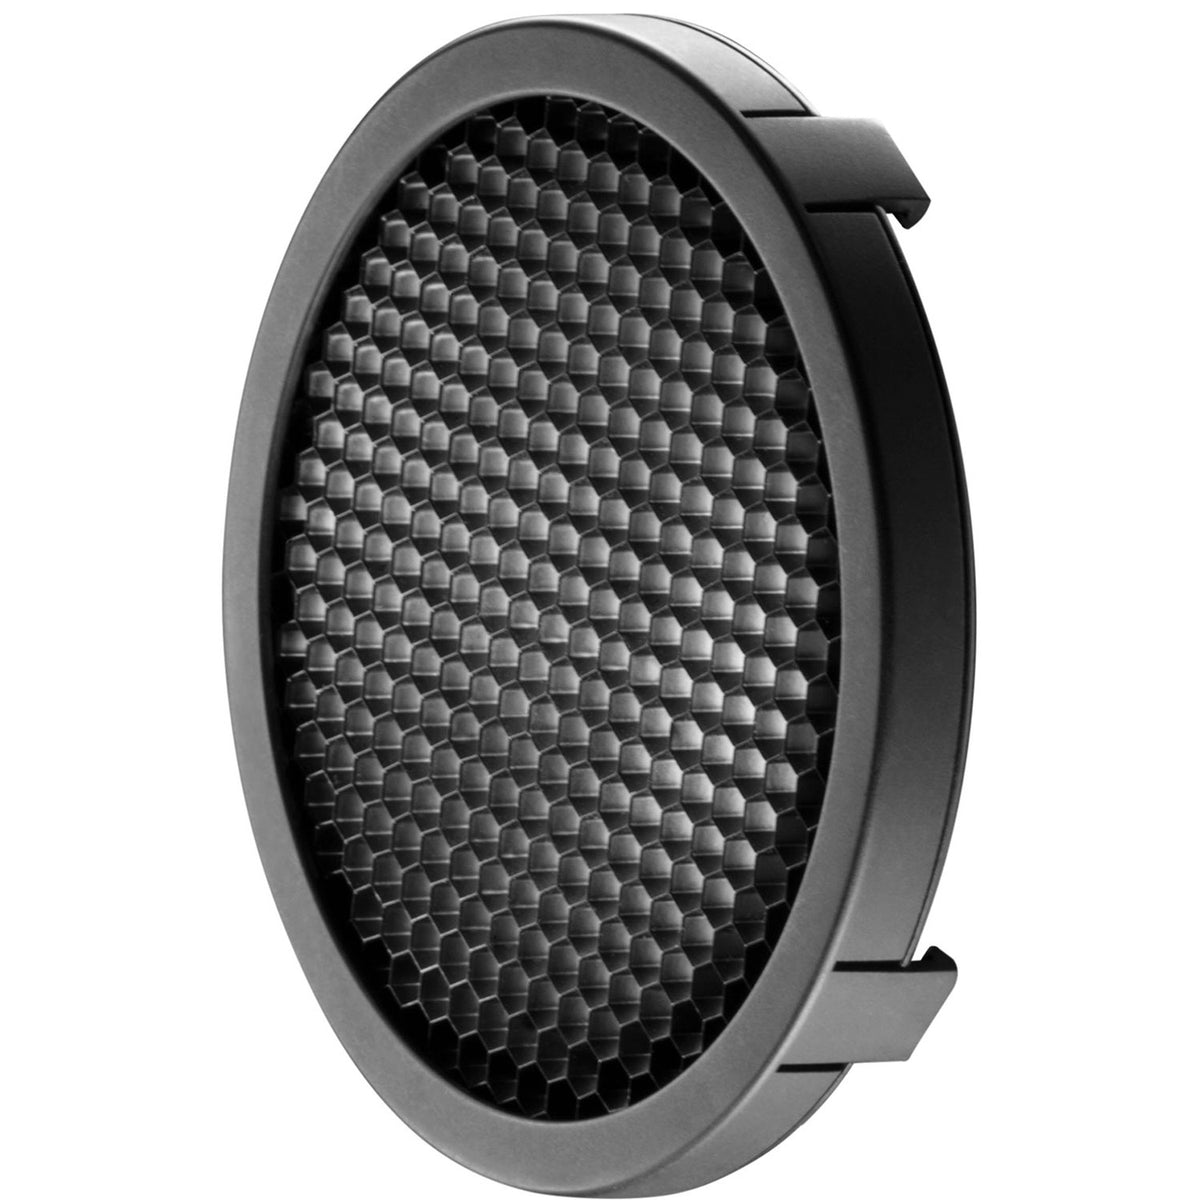
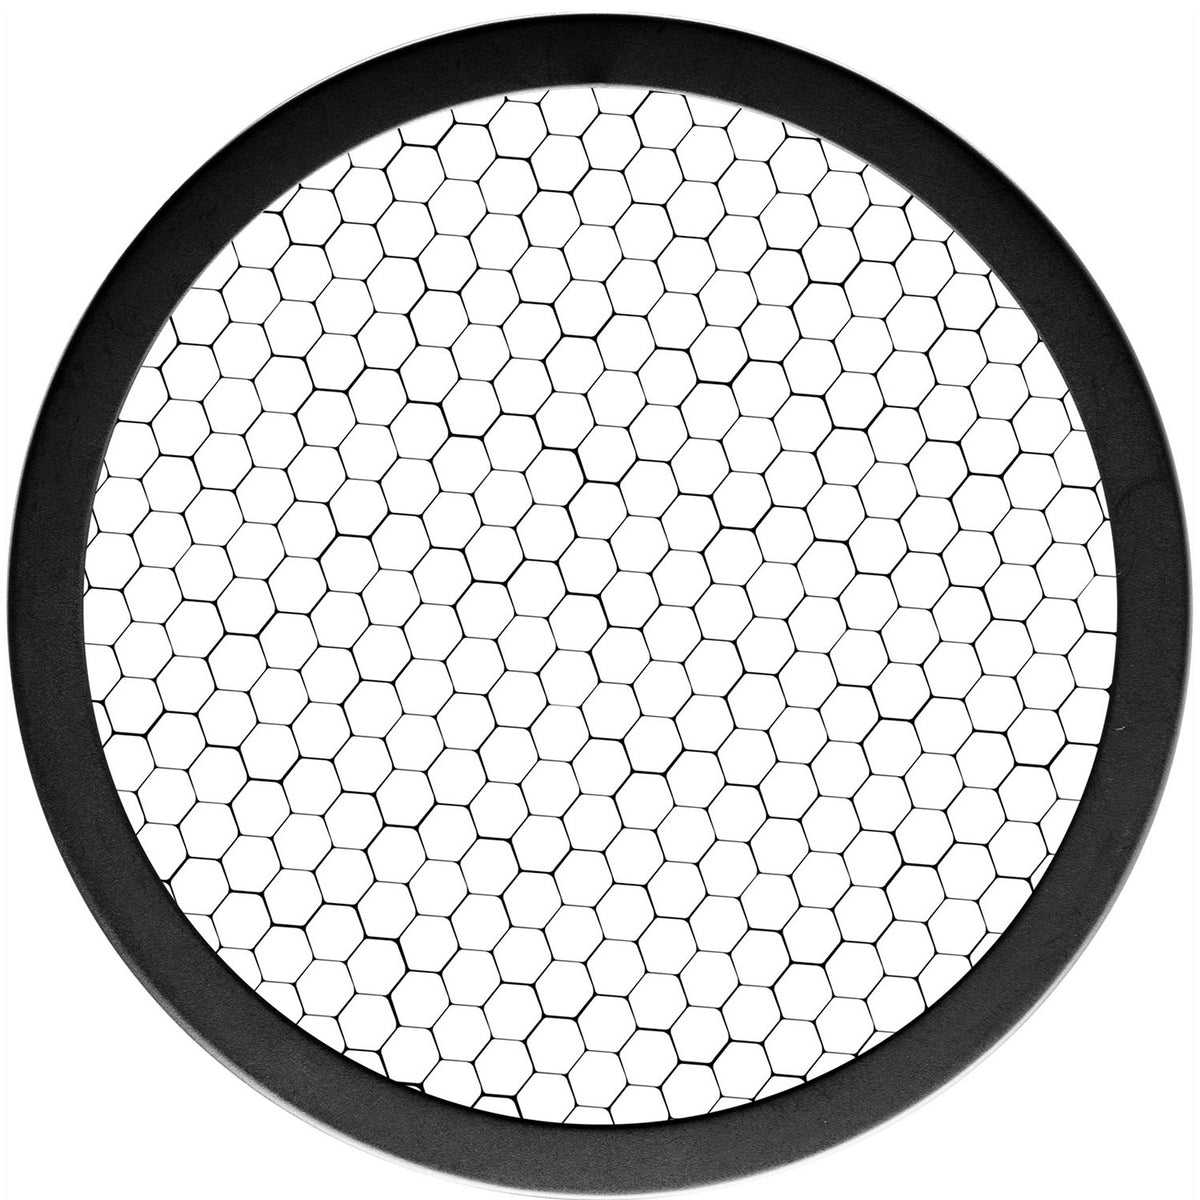
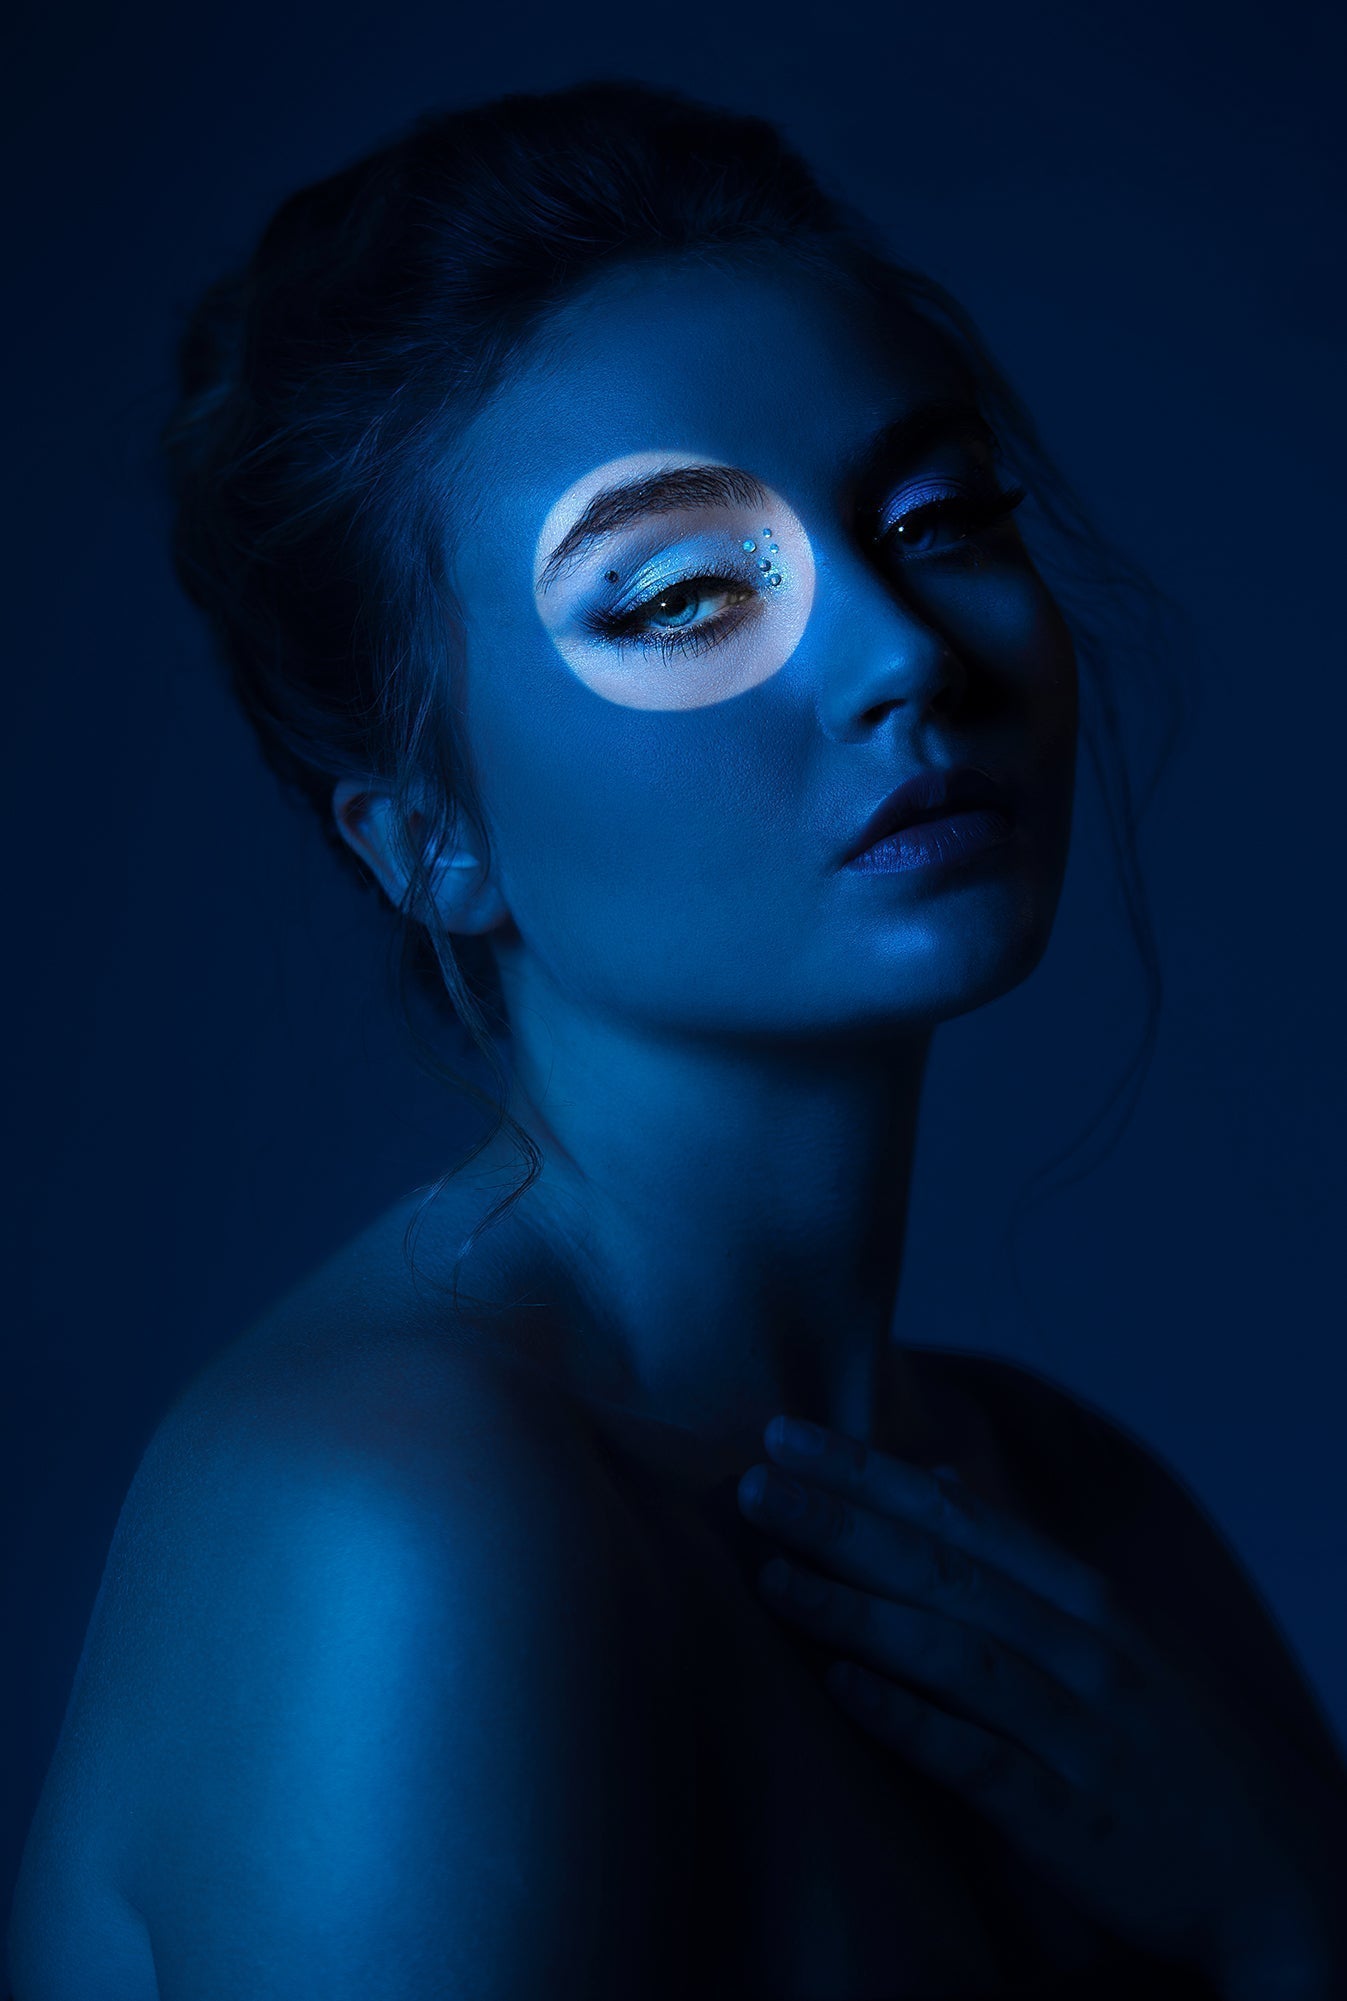
Another way to utilize grids is to focus the light onto a specific area. Naturally, a reflector has a wide beam angle, which in some cases isn’t ideal. By adding in a honeycomb grid, you can change the beam angle of your light. The smaller the degree of grid, the smaller the light spread. For example, a 10° honeycomb grid will give you a smaller beam angle compared to a 40° honeycomb grid. In this photo, Ashley added a grid to the FJ400 reflector to keep the light in a smaller area behind her subject. She knew this would control it from filling the entire background. In this instance, the grid helped create a natural vignette in the background of the portrait.
Lastly, eliminating unwanted glare from entering your camera lens (lens flare) is another use for grids. When backlighting a subject, you run the risk of getting light glare in your camera lens. In this setup, Ashley modifies the FJ400 flash with a [plink sku="2525"] with [plink sku="2830" alt="egg crate grid"] and places it behind her subject to use as a hairlight. Without the grid to control her light, it’s likely to produce a glare in the camera.